Flux lets you build data-capture flows that run on devices in the field. A flow is a connected graph of nodes: the operator moves through them one by one, capturing data, answering questions, and triggering AI steps along the way. Each node is a module with a specific job.
This article walks through every module available in Flux, grouped by category, and explains what each one does and how it can be configured.
How modules fit together
Every module produces an output. A scanned barcode, a measured weight, a selected option, or an AI-extracted field all become values that travel downstream.
Those values can be:
- Fed into AI modules as input (for example, a photo feeding an information-extraction step).
- Used by a Router to decide which branch the flow takes.
- Shown back to the operator on a Summary screen.
- Saved to the record that the flow produces for each run.
A flow always begins at a Start node and finishes at an End node. Everything else sits in between.
Data collection
These modules capture raw input from the operator's surroundings.
Barcode
Scans a single barcode or QR code using the device camera. The decoded value is stored as the step's output and can be used as AI input or as a condition in a Router (for example, routing on a product prefix). This is the usual way to identify a pallet, SKU, location, or shipment at the start of a flow.
Flux also supports a multi-code variant for scanning several named codes on one screen (for example "Pallet ID", "SKU", and "Lot number"), each with its own scan prompt, when a single item carries more than one code.
Picture
Captures one or more photos. You can set a minimum and maximum number of photos and choose to auto-continue once the operator reaches the limit. Photos are the main input for the AI modules: a single Picture step often feeds both an information-extraction step and an image-classification step downstream.
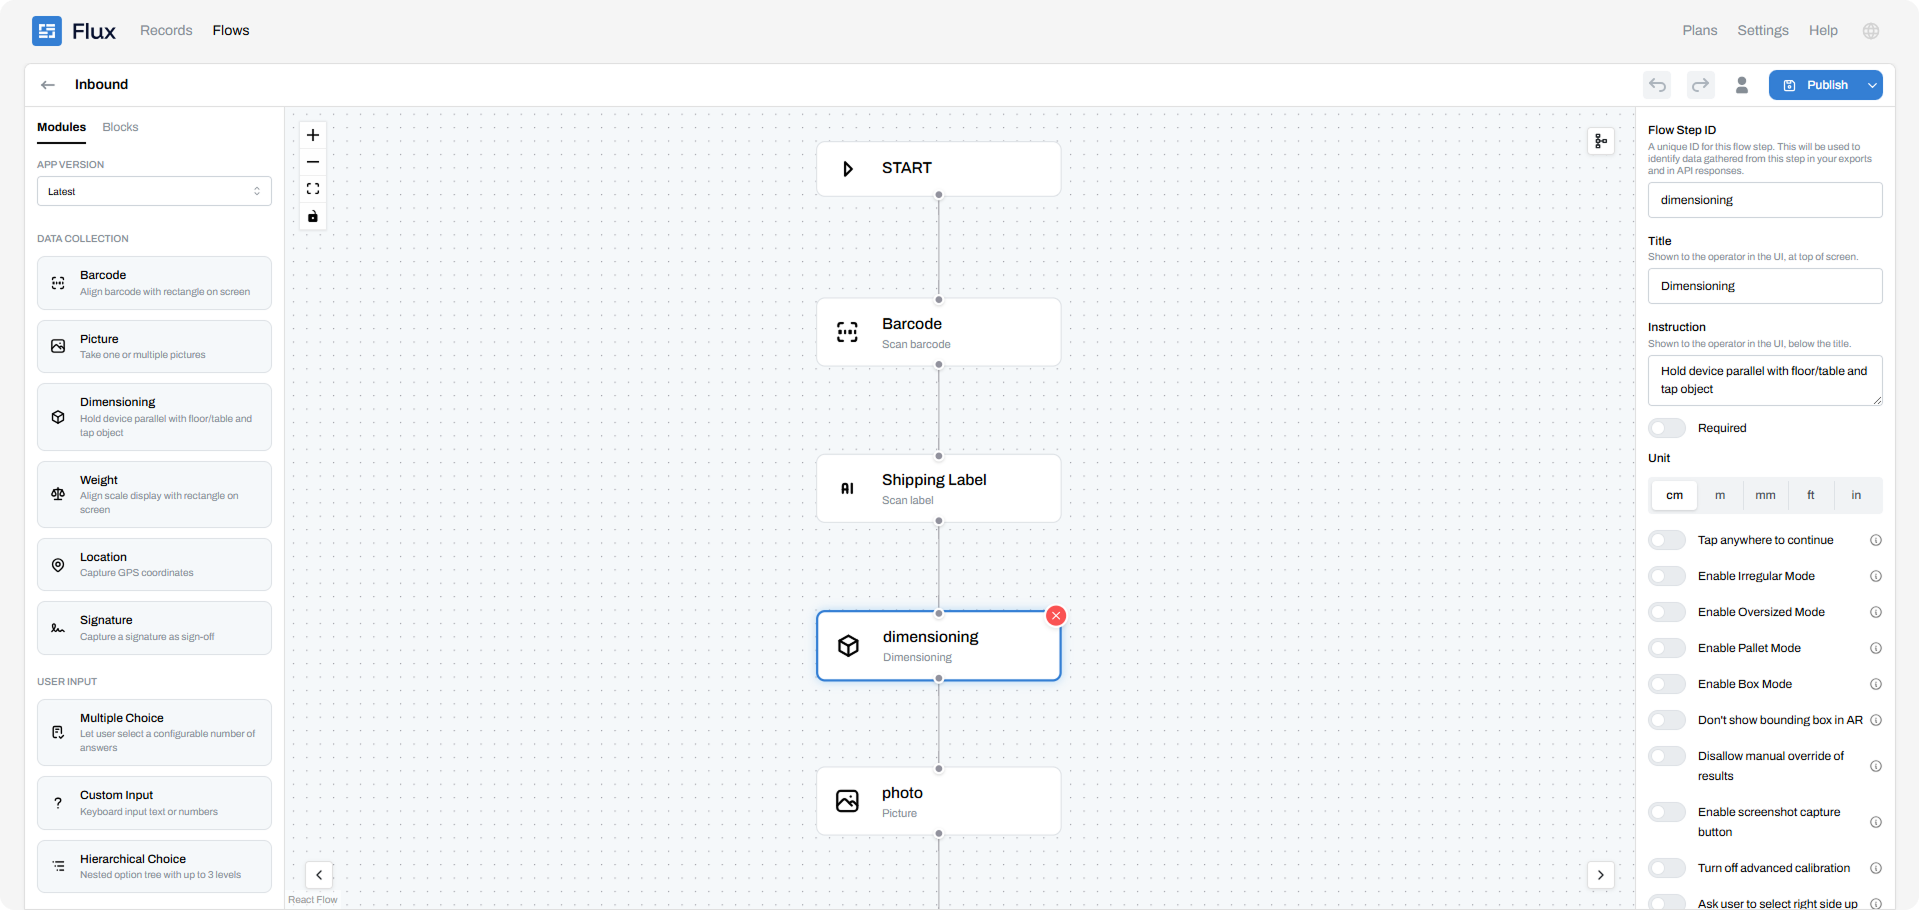
Dimensioning
Measures an item's physical size (width, height, and depth) using the device's dimensioning capability, in a configurable unit such as centimetres. Each measured dimension is individually addressable in Router conditions, where you can match on width, height, depth, smallest dimension, largest dimension, or middle dimension and compare against a threshold. This is what powers parcel-versus-pallet or oversize routing.
Weight
Captures item weight, typically read from an integrated or connected scale, in a configurable unit. You can disable manual override so operators cannot type a value by hand and must use the scale. The captured weight can drive Router logic, such as sending anything above a threshold to a special-handling branch.
Location
Ties the scan to a physical position. The value is stored on the record alongside the other captured fields.
Signature
Captures a hand-drawn signature on the device screen. An optional setting adds a printed-name field next to the signature, so the operator records both the drawn signature and a typed name. This is the standard proof-of-delivery and sign-off module.
AI Execution Modules
These modules run model inference, usually on photos or documents captured upstream. Each one reads its input from one or more earlier steps, and you can disable the operator's own upload so a step works purely from that upstream input.
Extract information
Pulls structured fields out of photos or documents. Each field has a prompt (for example, "Extract the weight in kg"), a value type (text, number, or enum), and flags for whether it is required, whether multiple values are allowed, and a maximum number of values. Enum fields take an allowed-value list with optional per-value descriptions, and related fields can be grouped together.
Every extracted field is individually usable in Router conditions, where you can compare numbers, check whether a value contains or belongs to a set, or count how many values were extracted.
Classify image
Sorts the input into classes you define (at least two). Each class has a description and optional example items, and you decide whether one class or multiple classes can apply at once. A common use is a condition check such as "damaged" versus "intact". The chosen class drives Router conditions, so the flow can react to what the model found.
Processing block
A container that runs several AI steps (extraction and classification children) at the same time on the same input, instead of waiting for each to finish in sequence. This is the performance option when, for example, one photo needs three independent AI reads: they fan out and run in parallel. Children declare where their input comes from, and a child can be set to derive only from upstream so the operator is not asked to capture anything again. Children can be added or removed as your needs change.
Background adaptation
This is the Processing Block's background mode. By default a block runs synchronously and the operator waits at a progress screen while the AI works. Switched to background mode, the AI runs on the device in the background while the operator continues with later steps, which removes the dead wait time. Because the results are not ready immediately, a background block is paired with a Collect Results point placed where the flow first actually needs those results. That point becomes the moment the flow waits, if it still needs to.
User input
These modules ask the operator a question rather than reading from hardware.
Multiple choice
Presents a question with a defined list of options. It runs in two modes: single-select, where the operator picks exactly one option, and multi-select, where the operator can pick several with optional minimum and maximum selection counts. Options must be unique and non-empty. Selections are available to Router conditions, so you can branch on which option was chosen or on how many were chosen.
Custom input
A free-form field with a title and placeholder text. The response is typed: text, number, time, or date. Use it for values that do not belong on a fixed list, such as a reference number, a count, a timestamp, or a short note. Numeric and value comparisons can be used in Router conditions.
Hierarchical choice
A dependent, cascading selection in which the operator's first pick narrows the options available at the next level, and so on down the tree. It is the right module when a flat option list would be too long, or when valid sub-options depend on a higher-level selection (for example: zone, then aisle, then bin). The selected path is what gets stored.
Display
These modules show information to the operator. They do not capture a value of their own.
Summary
A review screen that gathers the outputs of earlier steps so the operator can verify everything before completing the flow. It is the standard confirmation and quality-check point, usually placed near the end.
Message
Displays formatted rich content to the operator: headers, text, and instructions written in markdown. Use it for guidance, safety notices, or context at any point in the flow.
Logic
Router
A branching node that sends the flow down different paths based on conditions. You define named branches, and there is always a mandatory default branch that catches anything no other branch matches.
Each branch carries a condition built on an upstream step's output: a choice, a classification, an extracted field, a dimension, a weight, a custom input, or a scanned code.
Conditions support comparison operators (equals, not equals, greater than, greater than or equal, less than, less than or equal, contains, in a set, not in a set) and can be combined with AND, OR, and NOT for compound logic. This is how a flow adapts itself, for instance routing damaged items to a documentation path while clean items skip straight to sign-off.
Flow control
These modules define the skeleton of the flow. Validation checks that the Start and End nodes exist and that the graph is fully connected before a flow can be published.
Start
The single entry point of the flow. Execution begins here, and it is where the operator's session opens when they run the flow on a device.
End
A terminal point that completes the flow and finalises the record for that run. A flow can have more than one End, so different branches off a Router can each close the session in their own way.
Restart
Loops execution back to the beginning so the operator can run the flow again immediately without exiting. This suits high-repetition stations where the same capture sequence repeats item after item.
Shared Blocks: reusable sub-flows, live-linked across flows
Customers who run tens of flows usually have recurring sequences of steps that are identical across many of them: an intake measurement sequence, a classification-and-routing pattern, a standard sign-off.
When one of those common parts needs to change, someone has to open every flow and make the same edit by hand. That does not scale, and it is easy to miss a flow or introduce inconsistencies.
Shared Blocks are reusable sub-flows that are live-linked across flows. A Shared Block is a mini-flow of its own (its own nodes and edges) with defined entry and exit ports. When you place it into a flow, it renders as a single black-box node. Any edit you make to the block propagates automatically to every flow that uses it, so you maintain the common logic in one place and it stays consistent everywhere.
Building and publishing a flow
Once your nodes are placed and connected, validate the flow to catch common mistakes: missing Start or End nodes, unconfigured modules, incomplete Routers (every branch, including the default, must connect somewhere), and disconnected nodes. After it validates cleanly, publish the flow to make it available on devices. Publishing also pre-creates the data columns for the values your flow captures, so the records land in a consistent structure.
Build your first flow in minutes
Now that you know the building blocks, put them to work. Drag the modules you need onto the canvas, wire them together, and publish straight to your devices.
Related Articles
.png)
Connect Flux to your AI assistant through MCP